Inlets Pro Homelab Awesomeness
I work from home all the time… even before the little inconvenience known as COVID-19 took over our lives. Most of the time, I like working on my Intel NUC kitted out with 32GB RAM and 2TB of NVMe SSD. I recently switched over to running Ubuntu (almost) full time, and I can’t say I miss Windows much. It’s a great little machine for running all sorts of infrastructure dev work and prototyping that dominates many of my day to day responsibilities. However, I’d be lying if I didn’t mention I drool over the thought of building up a box on the fancy new 12 core Ryzen 9 3900x. Maybe someday…
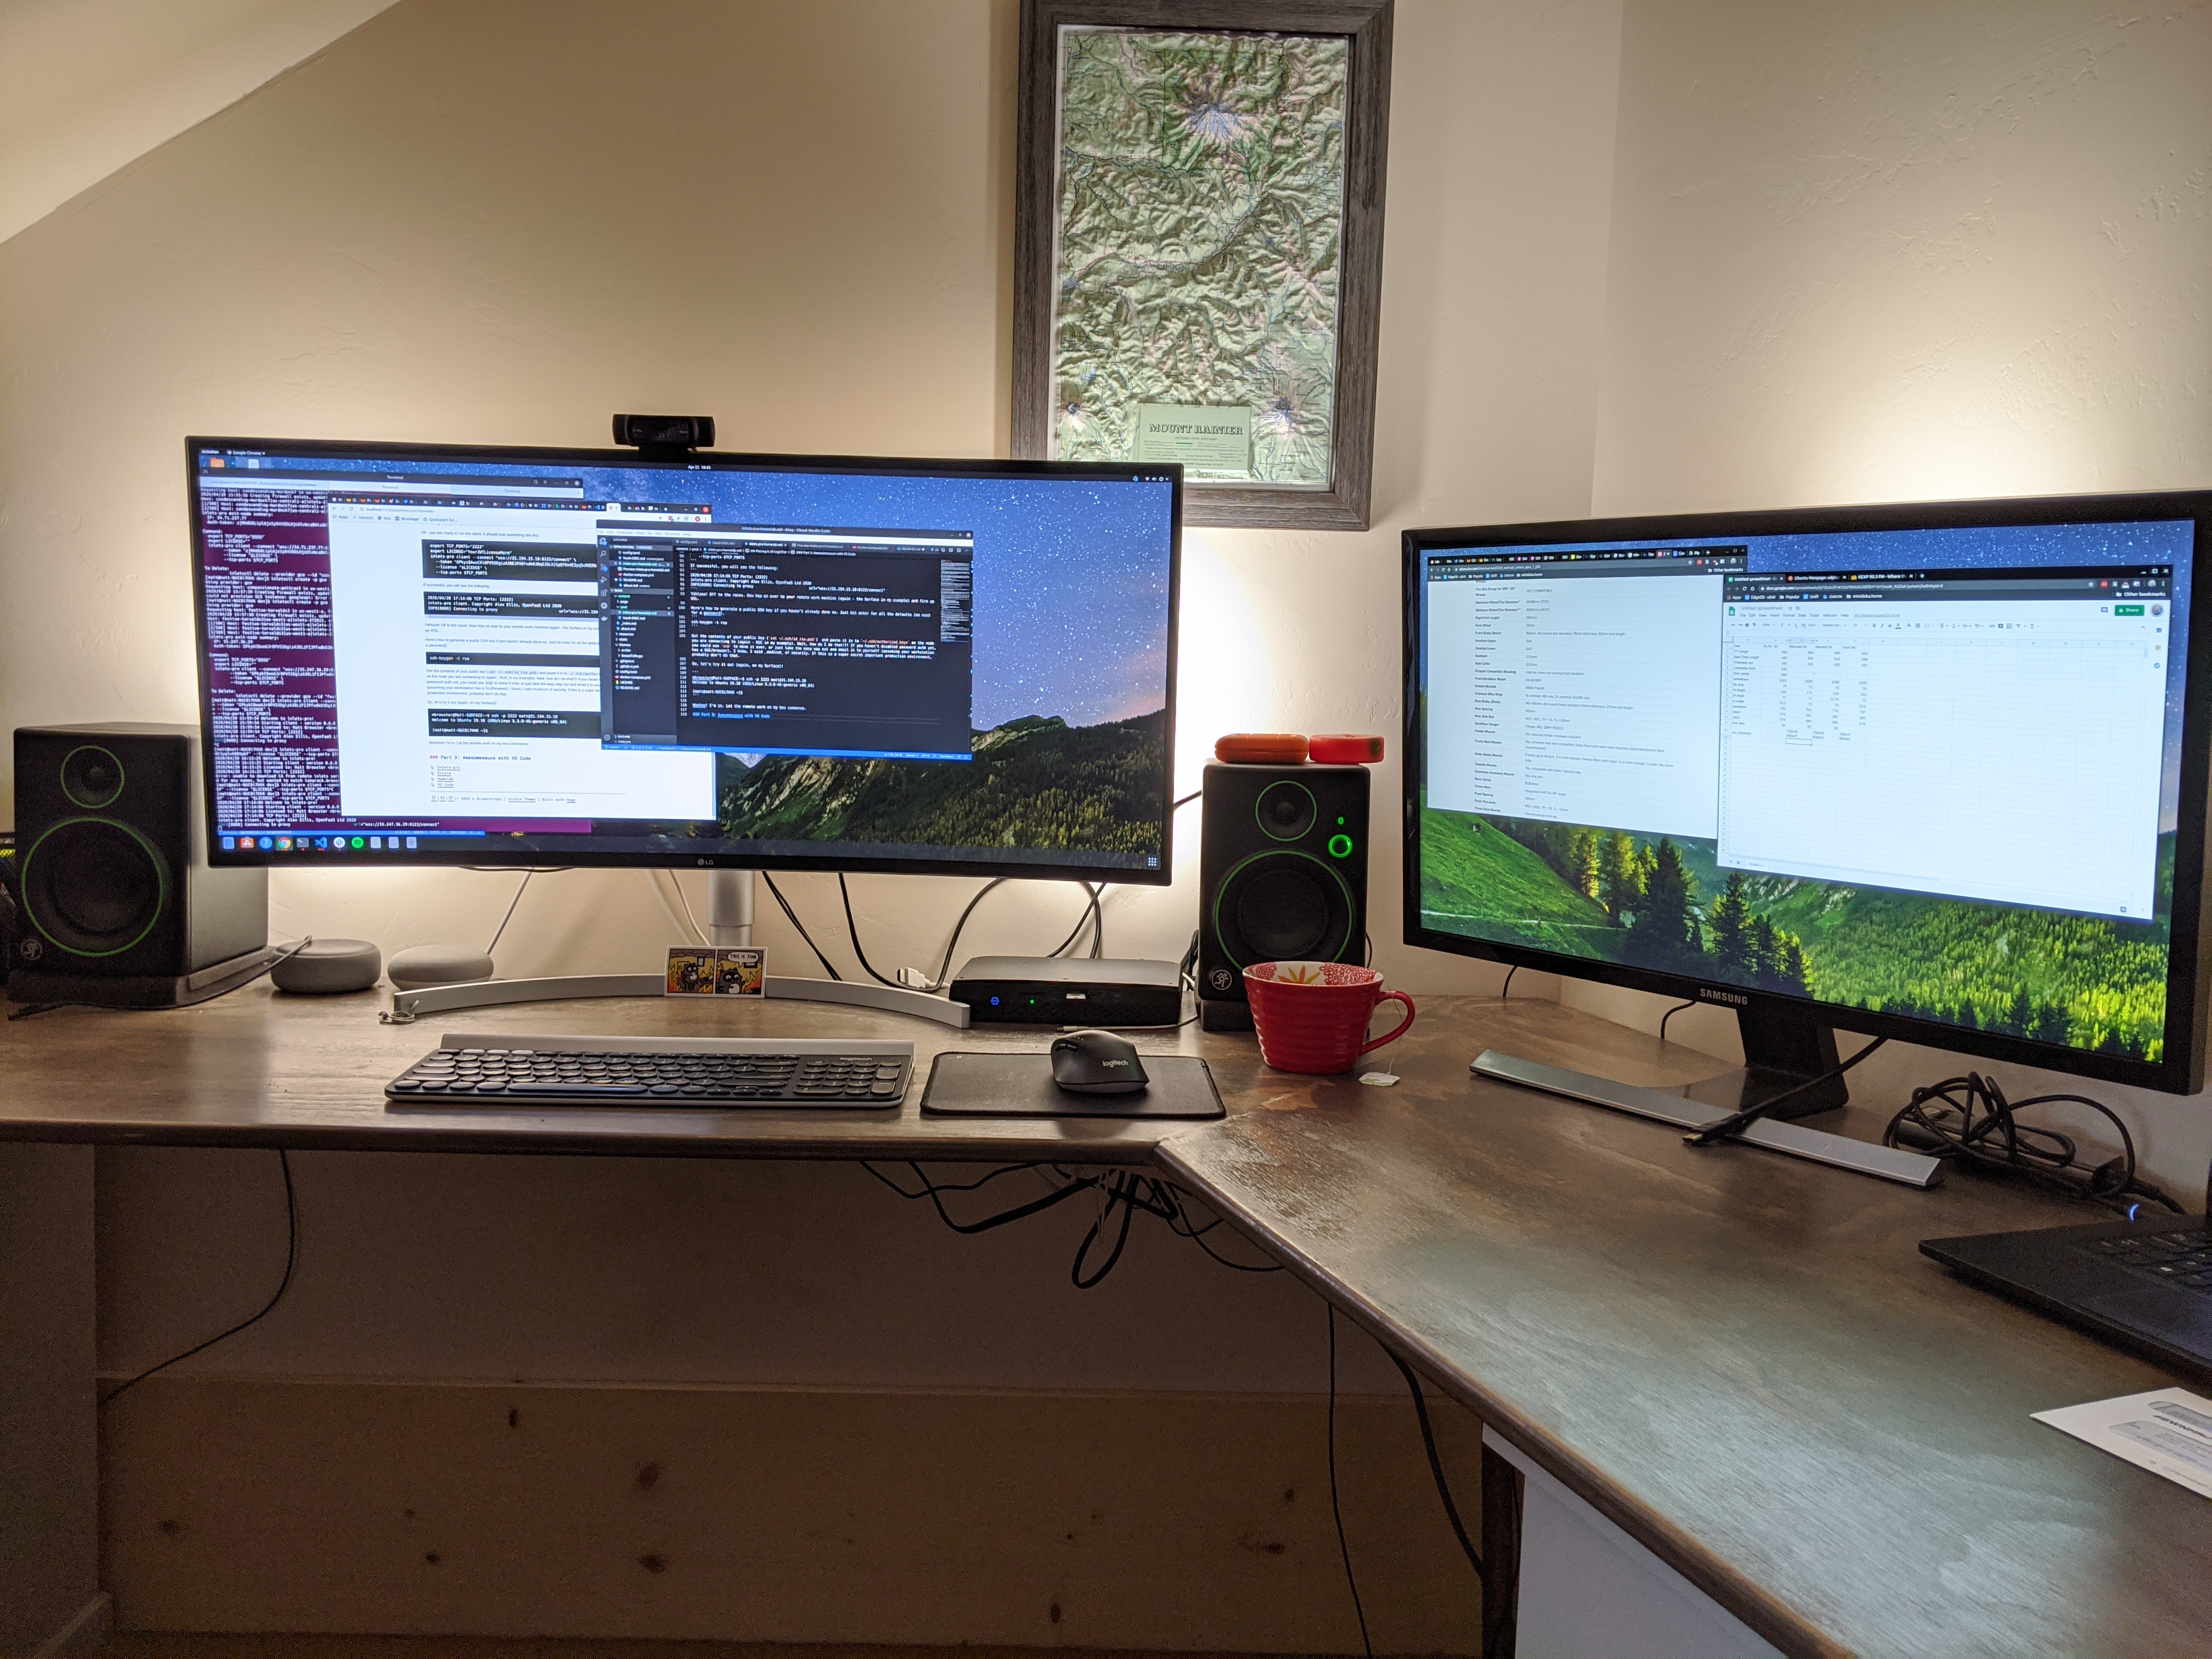
Ok, enough about hardware. It turns out that living up in the mountains is already isolating enough, and some days I want to venture in to “town” for some social interaction (or to escape the noise of an 11 month old) while getting a few things done… be it at my favorite local coffee shop or grabbing some suds at the brewery. I’ve got a Surface Pro 7 that is great for its form factor on the go, but not so great for the fact that it only has 8GB of RAM. WSL2 is awesome in that I can use Windows (which does the trick for the tablet that it is) while still having most of the power of Linux at my fingertips.
What if…
I’ve been on the hunt for a workflow that makes it easy to bounce from box to box and get real work done. Yes, I could write a bunch of tooling and just use the cloud, but that gets expensive and is surprisingly complicated when you just want a linux box with decent resources to play around with. It’s also a pain to be continually pushing code, artifacts, and configuration between boxes. Yes, I KNOW there’s tools to automate all of that. It’s also really easy to spend more time automating and maintaining things than learning about them.
Enter Inlets Pro
Inlets Pro is a great little tool that let’s you use (really cheap) cloud infrastructure to provision a public IP address for your private computing resources. The pro version runs at L4 of the TCP stack, so you can use things like SSH for all sorts of remote work awesomeness. Plus, it does all the messy TLS work for you. Usable security OOTB? Yes please, count me in. Yes, I know I could set up VPN or forward ports with dynamic DNS, but these solutions require a bunch of other network infrastructure and in my experience are not very reliable (at least with my ISP).
My goals were all in all pretty simple.
- Be able to do things on my NUC while I’m not at my NUC.
- Maintain a modicum of reasonable security.
- Continue using an IDE, namely VS Code.
- Don’t give a $hit ton of money to a cloud provider when I already have perfectly good hardware sitting on my desk.
Piecing it all together
Lucky for me, the tools to make this all happen exist.
Part 1: Stand up an Inlets Exit Node
I chose to use Google Cloud, mostly because I don’t use Google Cloud very often and thought it would be a good place to get my hands dirty. Plus, the $300 of suck you in bucks didn’t hurt. I should mention, there are definitely fancier ways to do this (including using a K8s cluster), but I decided to KISS for the first go-round.
Inlets has created a great little tool called inletsctl to make setting up an exit node (mostly) quick and easy. Head on over to your CLI and get it installed.
curl -sLSf https://raw.githubusercontent.com/inlets/inletsctl/master/get.sh | sudo sh
Once you have inletsctl installed, you will need to run through a few steps to get your environment variables set and create a service account key. This is all well documented and easy to follow.
Great, you are almost ready to pull the trigger.
Before you do though, consider where you are geographically located. You will want to pick a zone that has low latency to your location. If latency is high, you will get that annoying lag while typing in an SSH terminal as your traffic traverses the interwebs to the exit node and then back to your homelab. You want this to be as minimal as possible. There’s a great little tool at gcping.com to help you figure this out.
Once you figure out your zone, you are ready to go. Here are a few real-world helpers to help you figure out the proper values:
--zone: This is actually missing in the docs. All the other providers useregionexcept for GCP. Yes, I should submit a PR to fix this. This is the GCP zone you pick based on the latency test.--remote-tcp: This is the IP that your service(s) will run on from the clients perspective. It is a little bit confusing because you are provisioning the server end in this step. I’m going to run the client on my NUC, so everything will be available on localhost (hence--remote-tcp=127.0.0.1).
matt@matt-NUC8i7HVK dev]$ inletsctl create -p gce --project-id=$PROJECTID --remote-tcp=127.0.0.1 -f key.json --zone us-west1-a
Using provider: gce
Requesting host: festive-torvalds3 in us-west1-a, from gce
2020/04/20 15:57:50 Creating firewall exists, updating: inlets
Host: festive-torvalds3|us-west1-a|inlets-272022, status: provisioning
[1/500] Host: festive-torvalds3|us-west1-a|inlets-272022, status: STAGING
[2/500] Host: festive-torvalds3|us-west1-a|inlets-272022, status: STAGING
[3/500] Host: festive-torvalds3|us-west1-a|inlets-272022, status: active
inlets-pro exit-node summary:
  IP: 31.194.15.10
  Auth-token: GPkyiQAwoCKl0PVSSDgizA30EJPABfxdkOJDq5JBLXJ1pQfKm4E3yq5v90ERkli

Command:
  export TCP_PORTS="8000"
  export LICENSE=""
  inlets-pro client --connect "wss://31.194.15.10:8123/connect" \
	--token "GPkyiQAwoCKl0PVSSDgizA30EJPABfxdkOJDq5JBLXJ1pQfKm4E3yq5v90ERkli" \
	--license "$LICENSE" \
	--tcp-ports $TCP_PORTS

To Delete:
	  inletsctl delete --provider gce --id "festive-torvalds3|us-west1-a|inlets-272022"
Assuming you don’t have other stuff running in GCP, this node will run in the free tier forever. If not, it’s something like $4/mo.
Part 2: Set up the host and Inlets Pro Client
This is the easy part. Take the command that was just spit out, and modify as appropriate.
Values helper:
$TCP_PORTS=: This is a list of TCP ports running on your host that you want to expose. For now, I’m just going to use SSH. I’m going to set this to2222for a reason I will mention in a sec.$LICENSE=: This is the content of the JWT that was provided as your Inlets Pro license.
I mentioned port 2222 for SSH. You need to do this because your exit node will already be running ssh on port 22, so we need to pick something else. This is as simple as editing your sshd_config (probably located at /etc/ssh/sshd_config if you are running Ubuntu). Plunk down a line at the top Port 2222 and restart ssh (sudo service restart sshd). You will now be able to SSH in at port 22 or port 2222.
Security Bonus - Now would be a good time to disable password authentication if you haven’t done so already. Set ChallengeResponseAuthentication no. This does mean you will have to copy your public SSH key (id_rsa.pub) on your client (my Surface in this example) to ~/.ssh/authorized_keys on the machine you are connecting to (my NUC).
Ok - you are ready to run the client. It should look something like this:
  export TCP_PORTS="2222"
  export LICENSE="YourJWTLicenseHere"
  inlets-pro client --connect "wss://31.194.15.10:8123/connect" \
	--token "GPkyiQAwoCKl0PVSSDgizA30EJPABfxdkOJDq5JBLXJ1pQfKm4E3yq5v90ERkli" \
	--license "$LICENSE" \
	--tcp-ports $TCP_PORTS
If successful, you will see the following:
2020/04/20 17:14:06 TCP Ports: [2222]
inlets-pro client. Copyright Alex Ellis, OpenFaaS Ltd 2020
INFO[0000] Connecting to proxy                           url="wss://31.194.15.10:8123/connect"
Yahtzee! Off to the races. Now hop on over to your remote work machine (again - the Surface in my example) and fire up WSL.
Here’s how to generate a public SSH key if you haven’t already done so. Just hit enter for all the defaults (no need for a password).
ssh-keygen -t rsa
Get the contents of your public key (cat ~/.ssh/id_rsa.pub) and paste it in to ~/.ssh/authorized_keys on the node you are connecting to (again - NUC in my example). Wait, how do I do that!?! If you haven’t disabled password auth yet, you could use scp to move it over, or just take the easy way out and email it to yourself (assuming your workstation has a GUI/browser). I know, I said modicum of security. If this is a super secret important production environment, probably don’t do that.
So, let’s try it out (again, on my Surface)!
mbrewster@Matt-SURFACE:~$ ssh -p 2222 matt@31.194.15.10
Welcome to Ubuntu 19.10 (GNU/Linux 5.3.0-46-generic x86_64)

[matt@matt-NUC8i7HVK ~]$
Woohoo! I’m in. Let the remote work on my box commence.
Part 3: Awesomesauce with VS Code
Sweet, so we can SSH in to our workstation running on a private network without any extra VPN messiness. We have a cheap node running in GCP to facilitate the setup. We are almost there. If you are more old school than I, you might be happy stopping here. There’s nothing preventing you from doing real work with vim and tmux, but I grew up in the age of IDE’s and GUI’s (and my beard isn’t totally grey yet), so I’d like to use one.
Enter stage left: VS Code Remote Development.
Fire up VS Code and let’s get it set up. Hit Ctrl-Shift-P and Install the Remote Development Extension Pack.
ext install https://marketplace.visualstudio.com/items?itemName=ms-vscode-remote.vscode-remote-extensionpack
Configure a new SSH host:
- Again
Ctrl-Shift-Pto bring up the command prompt. TypeRemote-SSH:and selectAdd New SSH Host. - Enter your SSH command:
ssh -p 2222 matt@31.194.15.10 - Select the config file to update - for me it is
C:\Users\mebre\.ssh\config. You should see aHost Added!confirmation message.
Use your remote host to do work:
- In the bottom left of the screen, you will see an icon to
Open a remote window
- Select
Remote-SSH: Connect to Host... - Pick your host that you configured in the previous step. If you get some error message about writing to a non-existent pipe, SSH in from powershell and try again.
- Navigate to the file browser, and open the location that all your awesome projects live on your remote box.
- Open up a terminal window so that you can do stuff using
Ctrl+Shift+. You should see your friendly command prompt on your remote machine.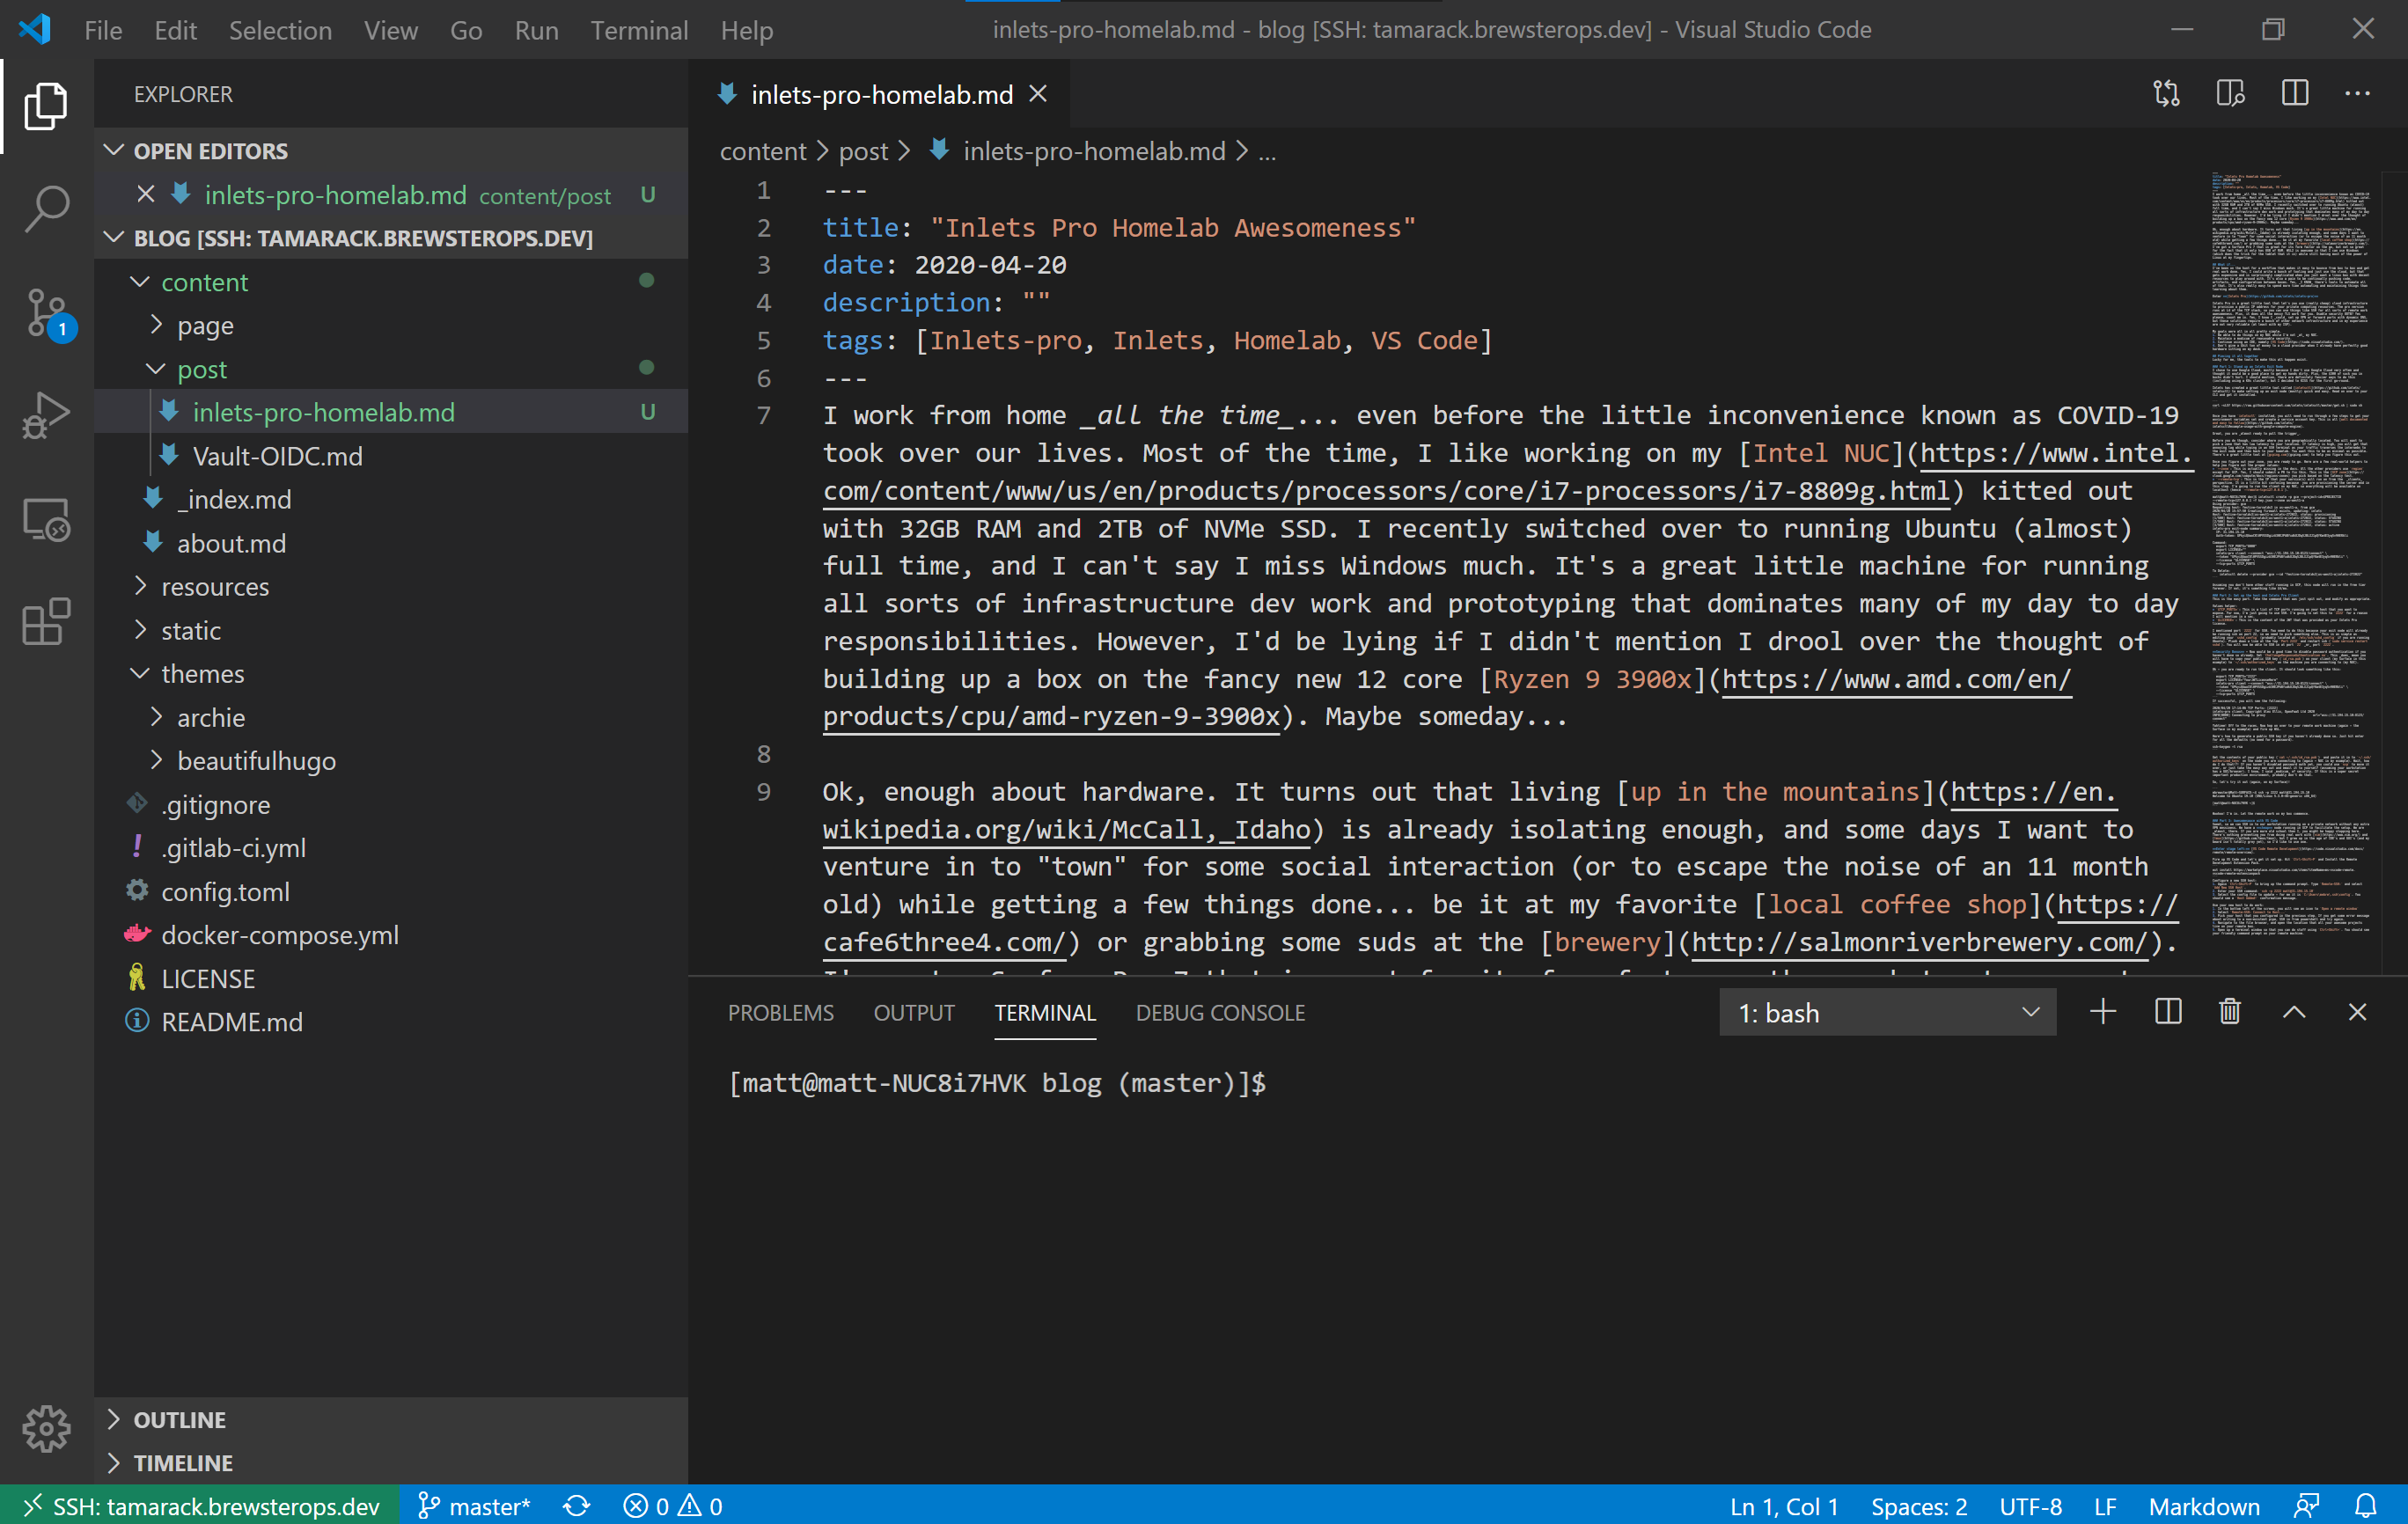
There you have it! Inlets Pro + VS Code doing remote development almost just like you are sitting at your desktop. Go forth and build something cool!